
Introduction to a Magic Mirror DIY Home Project
A Magic Mirror DIY home project is one of the coolest upgrades you can make if you love smart home technology and modern interior design. At first glance, it looks like a normal mirror. But the moment the screen turns on, it transforms into a smart display showing useful information like the time, date, weather, calendar events, news headlines, reminders, and even smart home controls.
This is why the magic mirror is often called a “smart mirror.” It combines the beauty of a mirror with the functionality of a digital dashboard. The best part is that you don’t need to buy an expensive ready-made smart mirror. With the right materials, a bit of planning, and basic DIY skills, you can build your own magic mirror at home.
In this complete guide, you’ll learn exactly what a magic mirror is, what materials you need, how to assemble it step-by-step, how to set up the software, and how to make it look professional and high-end. Whether you want it for your bedroom, bathroom, hallway, or home office, this article will help you create a stunning DIY smart mirror that looks like it came from a luxury showroom.
What Is a Magic Mirror and How Does It Work?
A magic mirror is a special type of smart mirror built using a two-way mirror and a digital display behind it. A two-way mirror reflects your image like a normal mirror, but it also allows light from a screen to pass through. This is what makes the “magic” effect possible.
When the monitor behind the mirror is off, the mirror behaves like a normal mirror. When the monitor is on, the bright areas of the screen become visible through the glass, showing text and widgets while still allowing you to see your reflection.
The brain of the system is usually a Raspberry Pi (a small computer), which runs a magic mirror software platform. That software controls what is shown on the screen and lets you customize the layout, fonts, widgets, and features.
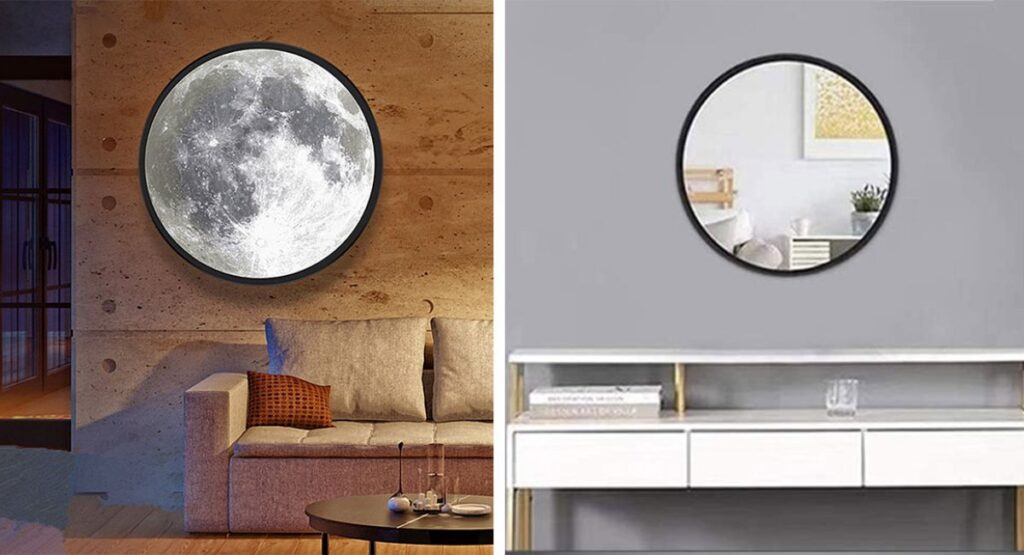
This is not just a tech gadget. A magic mirror is also an interior design feature. It looks sleek, modern, and premium, especially when built with a clean frame and a minimal display layout.
Where a Magic Mirror Looks Best in Home Interior Design
Before you start building, it helps to know where you want to place your magic mirror. Placement matters because it affects your mirror size, brightness needs, wiring, and design style.
A magic mirror works best in areas where you naturally stand in front of a mirror and also benefit from quick information.
Bedroom Dressing Area
This is the most popular location. You can check the time, weather, and schedule while getting ready. It feels luxurious and makes mornings more organized.
Bathroom Smart Mirror Setup
A bathroom magic mirror looks extremely modern. However, you must protect the electronics from moisture and choose a safe installation method.
Hallway or Entryway
This is a creative placement. You can see the weather, traffic updates, and reminders before leaving the house. It feels like a smart home dashboard.
Home Office
A magic mirror in a home office helps with productivity. You can display calendar tasks, deadlines, and motivational quotes.
Living Room Statement Piece
In a living room, the mirror becomes a high-end decor item. Guests will instantly notice it and ask about it.
Materials You Need for a Magic Mirror DIY Home Build
To build a magic mirror at home, you don’t need rare equipment. Most items are available online or at local hardware stores. However, choosing the right materials is important because quality affects both appearance and visibility.
The basic build requires:
- A two-way mirror (also called one-way mirror glass)
- A monitor or display screen
- A Raspberry Pi or mini PC
- A wooden frame or shadow box frame
- Cables, mounting brackets, and power supplies
You can also add optional features like motion sensors, LED backlighting, speakers, and touch support.
Below is a simple checklist table to help you understand what each item does.
One Table: Magic Mirror DIY Home Shopping Checklist
| Item | What It Does | Best Tip |
|---|---|---|
| Two-Way Mirror Glass | Reflects like a mirror while showing screen light | Must be real two-way mirror, not normal glass |
| LCD Monitor | Displays widgets and text behind the mirror | Use a bright monitor for clear visibility |
| Raspberry Pi | Runs the magic mirror software | Raspberry Pi 3 or 4 is ideal |
| HDMI Cable | Connects Raspberry Pi to monitor | Use a short cable for neat setup |
| Power Supply | Powers the monitor and Raspberry Pi | Use a safe extension board |
| Wooden Frame | Holds everything together | Shadow box frame gives best depth |
| Brackets/Screws | Mounts monitor and mirror safely | Make it strong for long-term use |
| Optional Motion Sensor | Turns screen on/off automatically | Adds a premium smart feel |
| Optional LED Strip | Improves style and visibility | Great for night-time look |
Step-by-Step: How to Build a Magic Mirror DIY for Home
The magic mirror build can be divided into three main stages: planning, assembly, and software setup. If you do each stage properly, the final result will look clean, professional, and expensive.
Step 1: Decide Your Mirror Size and Placement
Start by choosing where the mirror will go. Measure the wall space and decide your ideal mirror size. The mirror should be large enough to be useful, but not too large for your monitor.
A common beginner-friendly size is around medium wall-mirror size. The easiest approach is to choose a monitor first, then cut the two-way mirror to match the monitor dimensions.
Step 2: Buy a Proper Two-Way Mirror
This is the most important part. A normal mirror will not work. A two-way mirror is designed to reflect most light but still allow some light through.
When you buy it, ask for:
- Two-way mirror glass
- One-way mirror glass
- Smart mirror glass
Different shops use different names.
Step 3: Choose the Right Monitor
A bright monitor is essential. If your monitor is dim, the text will not show clearly through the mirror, especially in a bright room.
A used monitor can work perfectly, but avoid extremely old models with low brightness. If you can, choose a monitor with good brightness and sharp display quality.
Step 4: Build or Buy a Deep Shadow Box Frame
Your frame must have enough depth to hold:
- The two-way mirror
- The monitor behind it
- Raspberry Pi and wiring
A shadow box style frame is best because it gives the mirror a clean, professional look.
You can build the frame using:
- MDF wood
- Solid wood
- Plywood
Make sure the frame is strong because glass can be heavy.
Step 5: Mount the Monitor Inside the Frame
Mount the monitor securely inside the frame using brackets or screws. This step is important because the monitor must not move. Even a small shift can ruin alignment.
Some people remove the plastic casing of the monitor to make it slimmer. This is optional. If you do it, be careful because monitor panels are fragile.
Step 6: Install the Two-Way Mirror on the Front
Once the monitor is fixed, place the two-way mirror on the front side of the frame.
Use strong mirror clips or heavy-duty mounting tape. Make sure the mirror is flat and centered, and that there are no gaps.
Step 7: Connect Raspberry Pi and Power
Now connect:
- Raspberry Pi to monitor using HDMI
- Raspberry Pi to power supply
- Monitor to power supply
Then turn everything on to test the display.
At this stage, you should see the monitor screen behind the mirror. If the mirror is correct, bright text should be visible while the rest looks like a normal mirror.
Software Setup: Turning Your Mirror Into a Smart Mirror
Hardware gives you the structure, but software gives you the magic. The most popular magic mirror platform is a customizable software system that runs on Raspberry Pi.
You can install the system, then choose modules such as:
- Time and date
- Weather forecast
- Calendar events
- News headlines
- Quotes and greetings
- Prayer times
- To-do list
- Traffic updates
The best advice is to keep the display minimal. A clean layout looks modern and premium.
How to Customize the Magic Mirror Display for a Clean Look
Customization is where your mirror becomes truly personal. You can adjust:
- Font size
- Widget positions
- Screen brightness
- Text alignment
- Background behavior
A well-designed magic mirror display should not look crowded. It should feel like a luxury smart dashboard.
A good layout example is:
- Top left: Time
- Top right: Weather
- Center: Greeting message
- Bottom: News headlines
This layout looks balanced and is easy to read.
How to Make Your Magic Mirror Look Expensive and Professional
Many DIY magic mirrors work perfectly but still look “homemade.” The difference between a basic DIY look and a premium showroom look is all in finishing.
The most important design upgrades are:
Use a High-Quality Frame Finish
Paint or polish your frame properly. Matte black is the most modern look. Natural wood gives a warm, classic feel. White frames work well in bright, minimalist homes.
Hide All Cables
Cable management is a major detail. Use clips, channels, or hidden mounting inside the frame. Add a clean back cover to hide everything.
Avoid Direct Sunlight Placement
Sunlight reduces screen visibility. Place your mirror in an area where direct sunlight does not hit the mirror.
Use Understated Widgets
Minimalism looks expensive. Too many widgets makes it look messy and less premium.
Advanced Features You Can Add to a DIY Magic Mirror
Once your basic mirror works, you can upgrade it with smart features.
Motion Sensor for Auto On/Off
A motion sensor turns the screen on when you approach and off when you leave. This saves power and feels futuristic.
LED Backlighting
LED strips behind the frame create a luxury glow, especially at night. This is one of the easiest upgrades and makes the mirror look premium instantly.
Voice Assistant Integration
If you want a fully smart home feel, you can connect voice assistants so the mirror can respond to voice commands.
Smart Home Dashboard Widgets
You can add modules to control:
- Smart bulbs
- Smart plugs
- Cameras
- Temperature systems
This turns your mirror into a home control center.
Common Problems People Face in Magic Mirror DIY Home Projects
Even though this project is exciting, beginners often face a few issues. Knowing them in advance will save you time.
Text Is Not Visible Clearly
This usually happens due to:
- Low brightness monitor
- Low-quality two-way mirror
- Too much room light
Solution: Use a brighter monitor and ensure the mirror is real two-way glass.
The Mirror Gets Hot Inside
Monitors and Raspberry Pi generate heat. If your frame is fully sealed, heat builds up.
Solution: Add small ventilation holes or install a small silent fan.
WiFi Connection Problems
If the mirror is far from your router, modules like weather and news may not update.
Solution: Use a WiFi extender or move the router closer.
Loose Frame or Weak Mounting
Glass is heavy, and weak frames can become unsafe.
Solution: Use strong wood, proper screws, and secure brackets.
Magic Mirror DIY Home Maintenance Tips
A magic mirror is easy to maintain. Most maintenance is simple cleaning and occasional software updates.
- Clean the mirror using a microfiber cloth
- Avoid harsh chemicals that can damage mirror coating
- Keep the back area dust-free
- Update Raspberry Pi software occasionally
- Check wiring once every few months
If installed in a bathroom, ensure moisture protection is strong and never allow water to enter the frame.
Final Thoughts: Is a Magic Mirror DIY Home Project Worth It?
Yes, a Magic Mirror DIY home project is absolutely worth it if you want a modern home upgrade that feels both stylish and futuristic. It improves your daily routine, adds a luxury interior design element, and gives you a smart home experience without buying expensive ready-made products. With proper planning, a strong frame, a bright monitor, and a clean display layout, your DIY magic mirror can look professional, high-end, and truly impressive. It is one of the best home improvement projects you can do because it combines creativity, design, and technology in one beautiful piece.